Clouds on Demand: Parameterized Procedural Generation of Cloud-like Graphics

Abstract:

We combine tessellating Worley and smooth noise patterns with Beer’s Law and the Henyey-Greenstein phase function to model ray-tracing through cloud formations of varying densities, sample rates, and light properties.

Technical approach

Clouds have a characteristic shape in the popular imagination. We learned that one approach to generating the cloud is using a combination of 3D Worley noise and smooth noise. Combined in three dimensions – those noises result in cloud like appearance. Then we pass the texture to OpenGL shader for ray tracing and ray marching. In order to tackle this problem, we stripped down Project 4: Cloth Simulator code.

Generating Cloud Textures

The process starts with seeding a bounding box with numerous random points (known as Worley points), then calculating the closest distance to the nearest Worley point for every pixel. We use an optimization to reduce the computational demand – by dividing our bounding box into a grid of nine cells and only adding one Worley point to each cell, we can limit the number of “nearest point” calculations for each pixel to just 8 in 2D, and 26 in 3D. Having the distance from each pixel to the nearest Worley point provides the framework for generating the overlapping circular shape of a cloud’s edges, but in order to create seamless cloud textures that don’t abruptly end if the camera position changes, we “wrap” the Worley point formation. This is done by duplicating the bounding box (grid cells and Worley points included) until the original is surrounded (by 8 clones in 2D space, and 26 in 3D space), then using adjacent Worley points in the clones in the nearest point calculation.
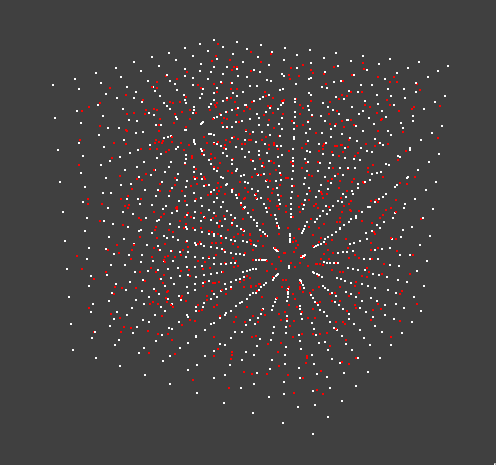
Implementing Worley noise was mostly a matter of following the prior work of others, but we did add our own twist by decoupling a number of parameters, including the texture resolution and the size of the Worley point grid cells. 

Worley noise provides decent outlines for our clouds, but is rather lacking when it comes to texture. To populate our Worley cloud scaffolds, we turned to Perlin noise, a type of gradient noise often used for textures. But in the end, we utilized smooth noise instead, because our Perlin noise implementation did not look right. In 2D, the smooth noise generation process involves trilinear filtering on every pixel. Extending the technique to 3D space was a design choice we made to make our clouds more realistic.

Then, we combine the Worley and smooth noise using the scale function described in Fredrik Haggstrom’s “Real-time rendering of volumetric clouds” thesis.

Raytracing

At this point, we have created a cloud texture that we then passed into our shader. Inside the shader, we placed our texture in a rectangular shape. At first we were misunderstanding how to render our texture and were outputting the texture on the surface of the rectangle:

Eventually we figured out that a proper approach to this problem was to use a quad implementation. The idea is to shoot a ray from the camera at the quad intersecting our texture container. For each ray that intersects our texture, we will sample the texture with an adjustable sample_rate. Using the Beer’s law, we will calculate the output pixel onto the quad. This method enabled us to properly draw the clouds onto the scene and manipulate the cloud placement, cloud size, and our point of view.

Raymarching

Next step was to add light to our clouds. In order to do this, as we shoot a ray through our texture: for each sample point, we shoot another ray towards the light source, adding up the light landing at every texture point between the light source and our sample point. This gave us an overall light estimation for every sample point on our ray. Combining light for every sample point, we got the total light output for that pixel on the quad. 

The Henyey-Greenstein equation was useful in adjusting the light angle falling on our cloud. Additionally, we placed a variety of scalar adjustments in our GUI for this part of the project in order to help with troubleshooting and dialing in our settings.

Technical Difficulties

We encountered a series of hiccups involving the MacOS operating system and OpenGL. Many of the OpenGL functions that would enable quicker texture generation via GPUs are only found in the latest versions of OpenGL, and we encountered compatibility issues on the MacOS operating system. This forced us to abandon compute shaders and make our texture generation run on the CPU instead. Using OpenMP helped parallelize parts of the process, but it is still computationally intensive and therefore our program takes few seconds to initially generate our textures.

Rendering to the BBOX was aesthetically displeasing, so we changed our implementation to render to Quad. At this point, our noise started to resemble real clouds flowing within the box.
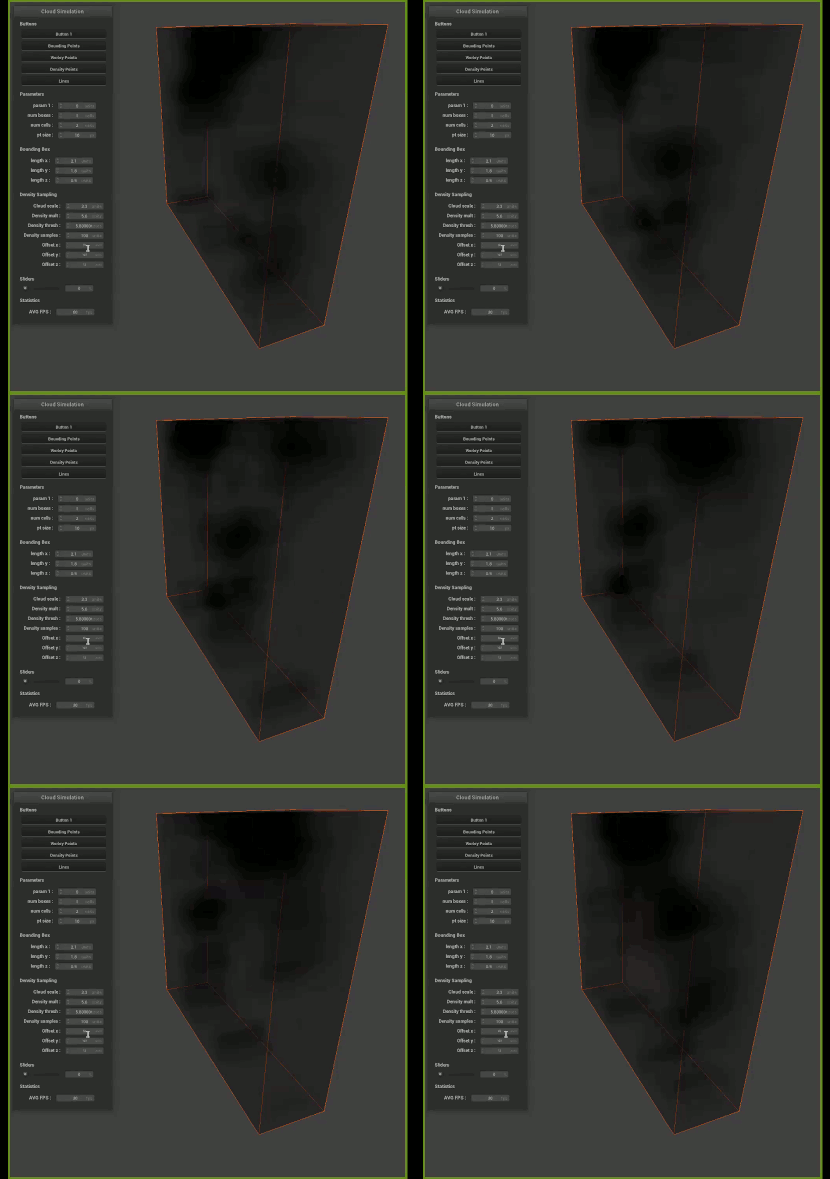
The lack of typical debugging tools, like print statements, in the shader forced us to adapt to using color outputs as a proxy for understanding what our code was doing. This was a new coding paradigm for us and took some adjusting to.

Future Approaches

If we were to do it again, we would likely make the following changes:

First, we would probably use a platform agnostic technology like WebGL, one that would run on any operating system. This would have circumvented the compute shader compatibility issues we encountered, and make our project accessible to a wider audience. 

Our GUI slows down substantially during computationally intensive rendering (when sample rate is increased beyond 60 samples); making the draw interpolation frame independent instead of using a fixed update rate would allow the GUI to be operable even when textures are rendering.

Contributions

  • Zachary modified the cloth simulator project to create the scaffold for our cloud generation project, converted the noise algorithms to run in 3D space, figured out the bounding box and quad rendering, and implemented ray tracing.
  • Roman was our webmaster, created a 2D noise prototypes, handled the 3D ray marching, debugged multiple parts of the code, and served as subject matter expert for all things lighting related.
  • Callam was our wonderful video expert, handling everything from voiceovers to post production edits.
  • William modified the GUI to improve the user experience, and handled the majority of the write-ups.

Results

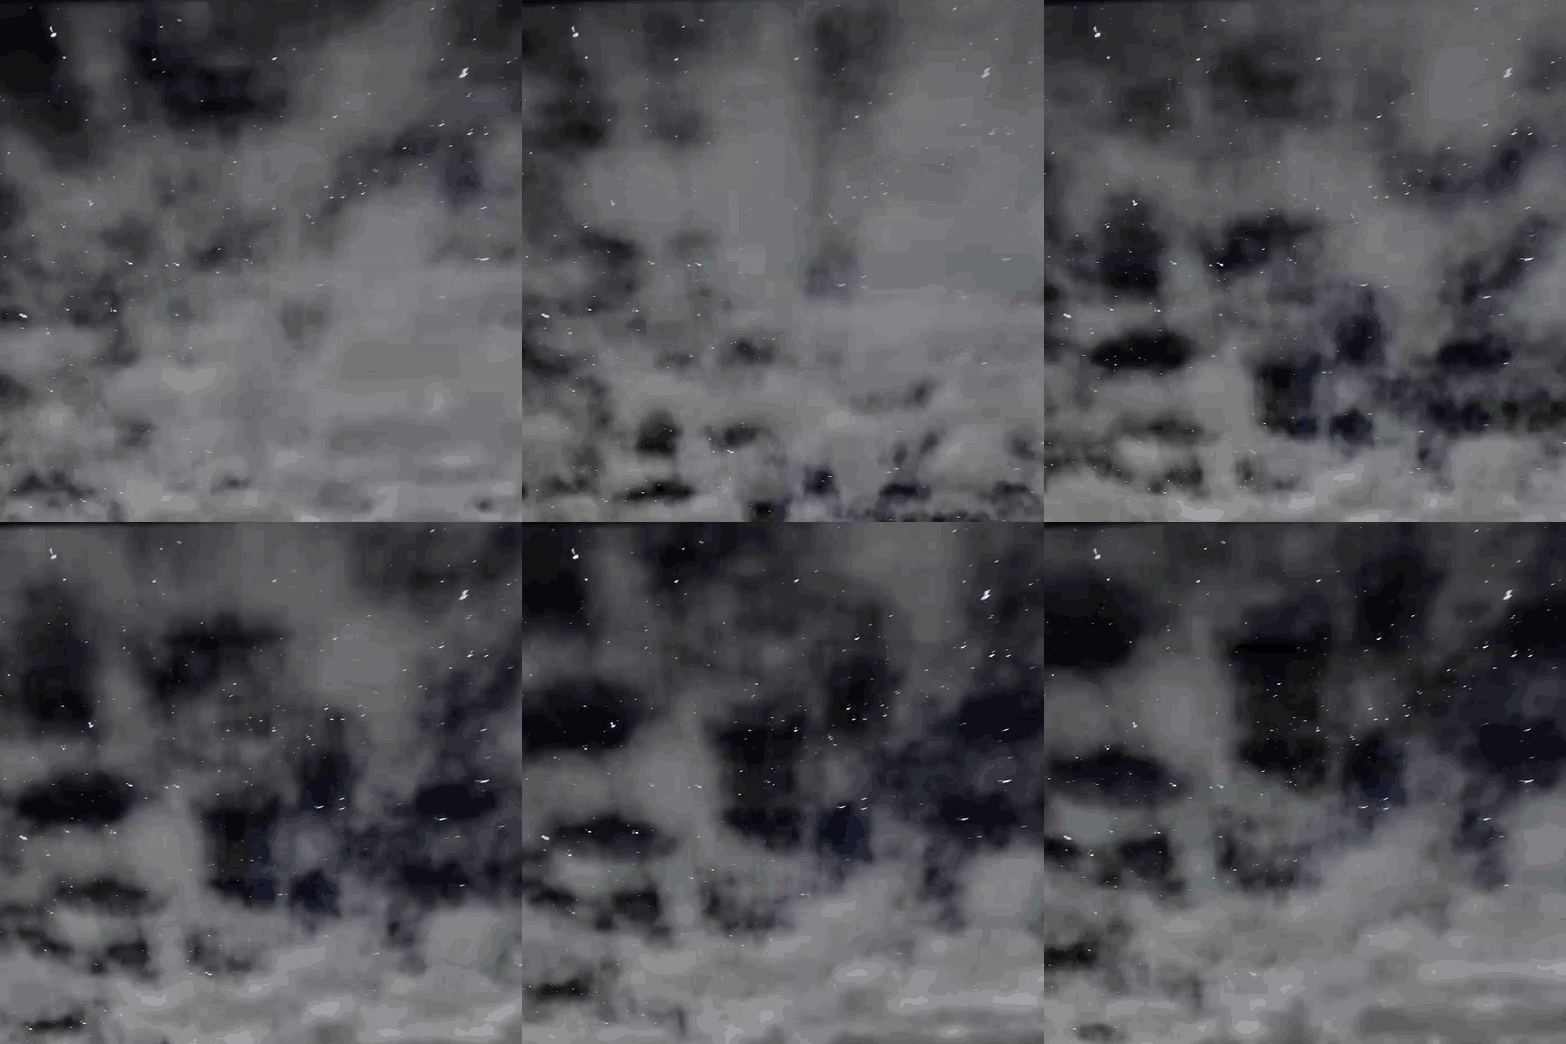
We have achieved our goal to render volumetric clouds. Our GUI enables us to adjust the size and placement of our clouds. Additionally we are able to adjust variety of paremeters such as light location, sample rate, and scale among many others. Also, we can adjust our point of view.
You can view our GitHub repository here.

References

  1. Olajos, Rikard. (2016). Real-Time Rendering of Volumetric Clouds [Master’s thesis, Lund University]. ISSN 1650-2884 LU-CS-EX 2016-42. https://lup.lub.lu.se/luur/download?func=downloadFile&recordOId=8893256&fileOId=8893258
  2. Häggström, Fredrik. (2018). Real-time rendering of volumetric clouds [Master’s thesis, Umeå Universitet]. https://www.diva-portal.org/smash/get/diva2:1223894/FULLTEXT01.pdf
  3. Lague, S. [Sebastian Lague] (2019, October 7). Coding Adventure: Clouds [Video file]. YouTube. https://www.youtube.com/watch?v=4QOcCGI6xOU
  4. Vandevenne, L. (2004). Lode’s Computer Graphics Tutorial. Texture Generation using Random Noise. https://lodev.org/cgtutor/randomnoise.html
Additional Textures

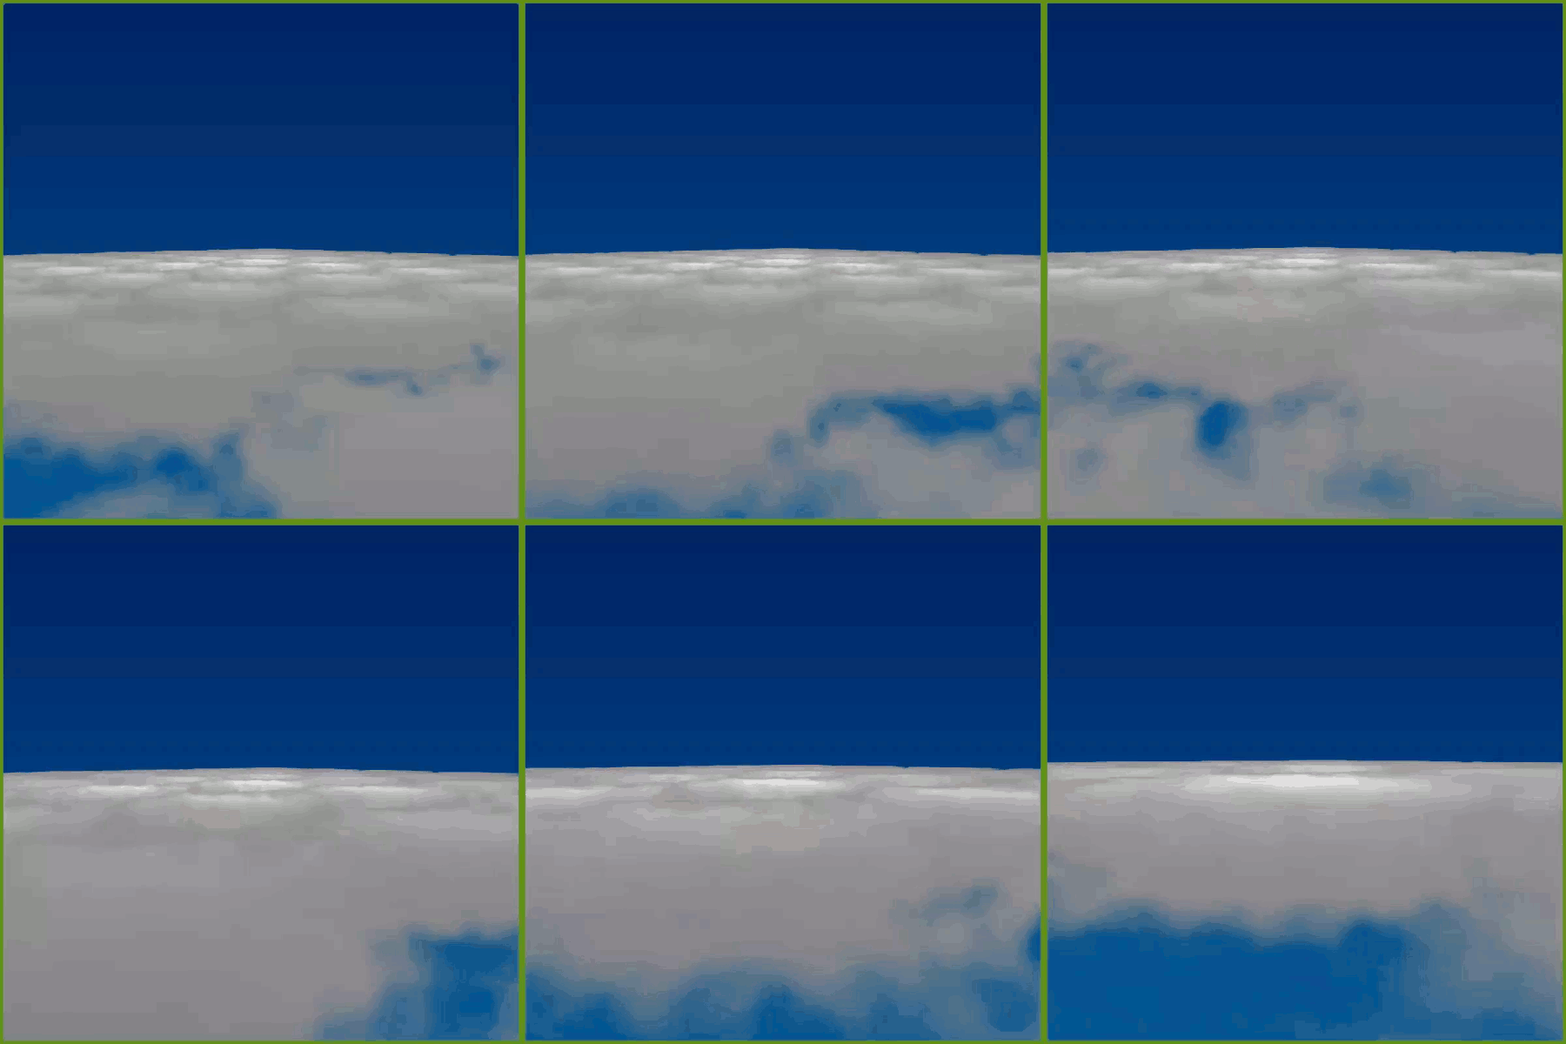
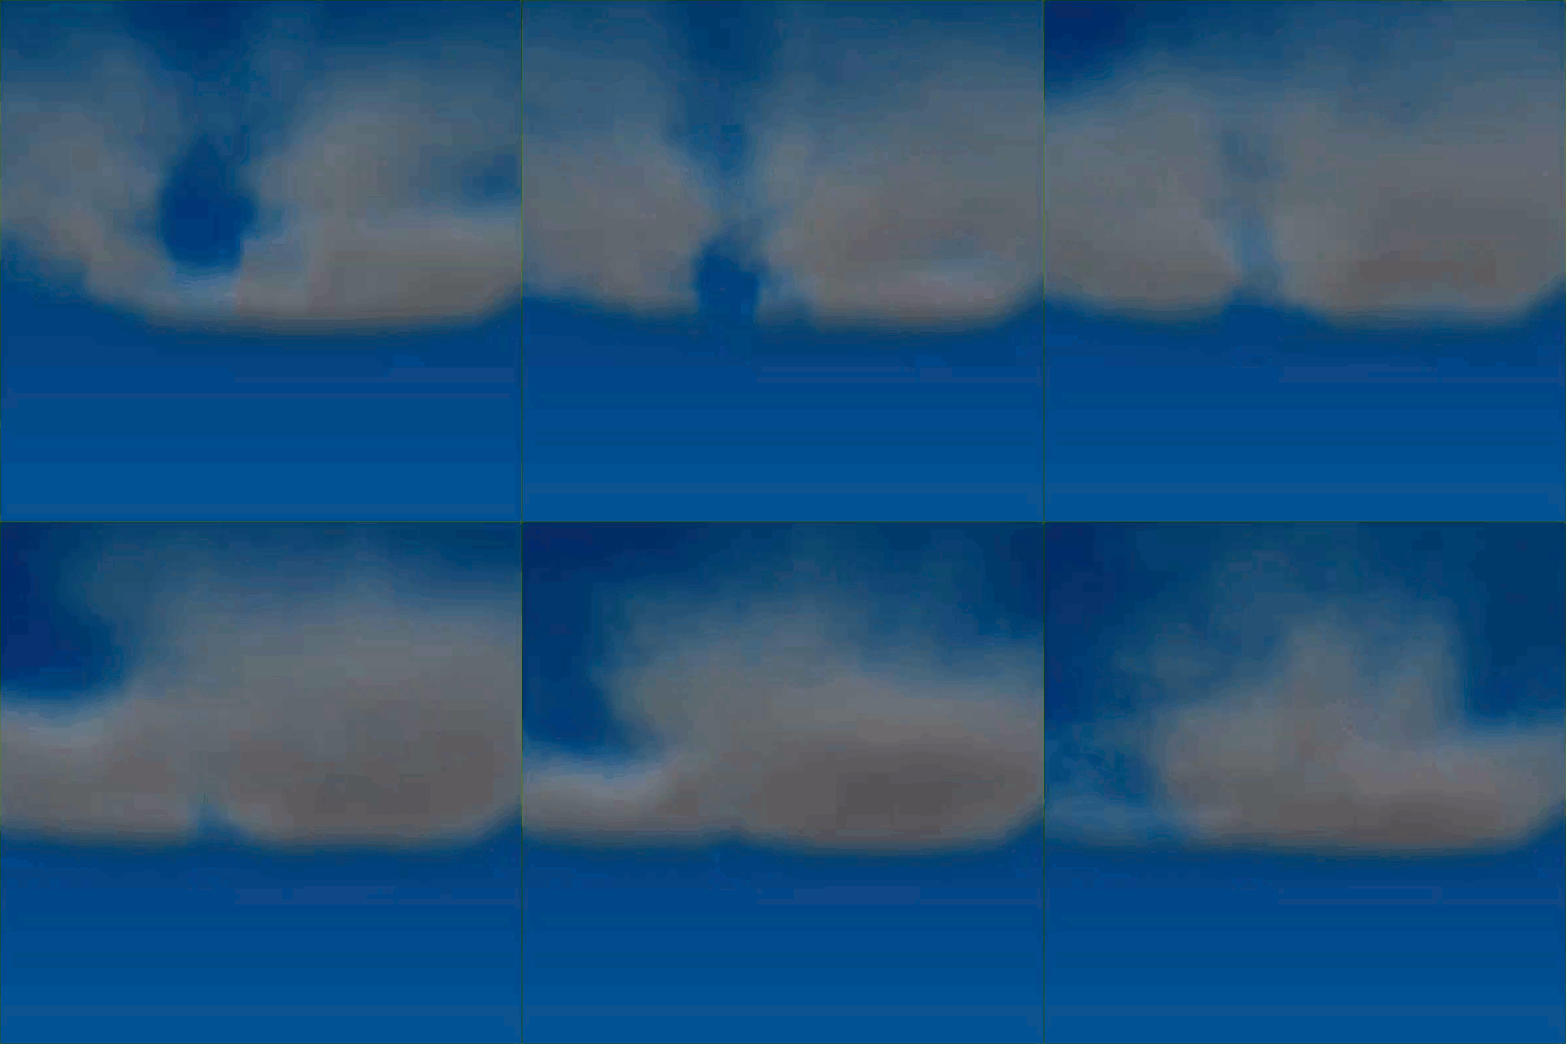
Finally we wanted to add some simple textures and play around with different settings such as camera position. For the background we decided to go with a simple gradient generated inside the shader prior to rendering the clouds:

    /* Generate blue sky */
    float blue = scale( v_position.y, -1, 1, 0.4, 0.6 );
    out_color = vec4( vec3( 0.39, 0.30, 0.65 ) - blue, 1 );

Ray Marching The Cloud

A real cloud consists of many-many water particles spread out at random. Each particle is tiny and spread out at random with (typically) a lot of empty space between particles. A real light ray is scattered all over the cloud in variety of directions. It would incredibly difficult and computationally intensive to replicate reality-based ray tracing algorithm.

Our simplified approach was to shoot a ray towards the light source from our original ray as it passes through the cloud and sample densities from that point towards the light source. Then we continue marching though our clouds repeating the process. This is done for every ray shot through our cloud.

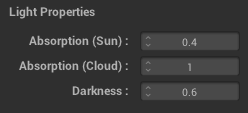
The most difficult part of ray marching the cloud is correctly mixing the “marched densities” with color for final output. In order to pick the correct mixing parameters, we added three additional setting to our GUI. This enabled us to play with ray marching settings on the fly.

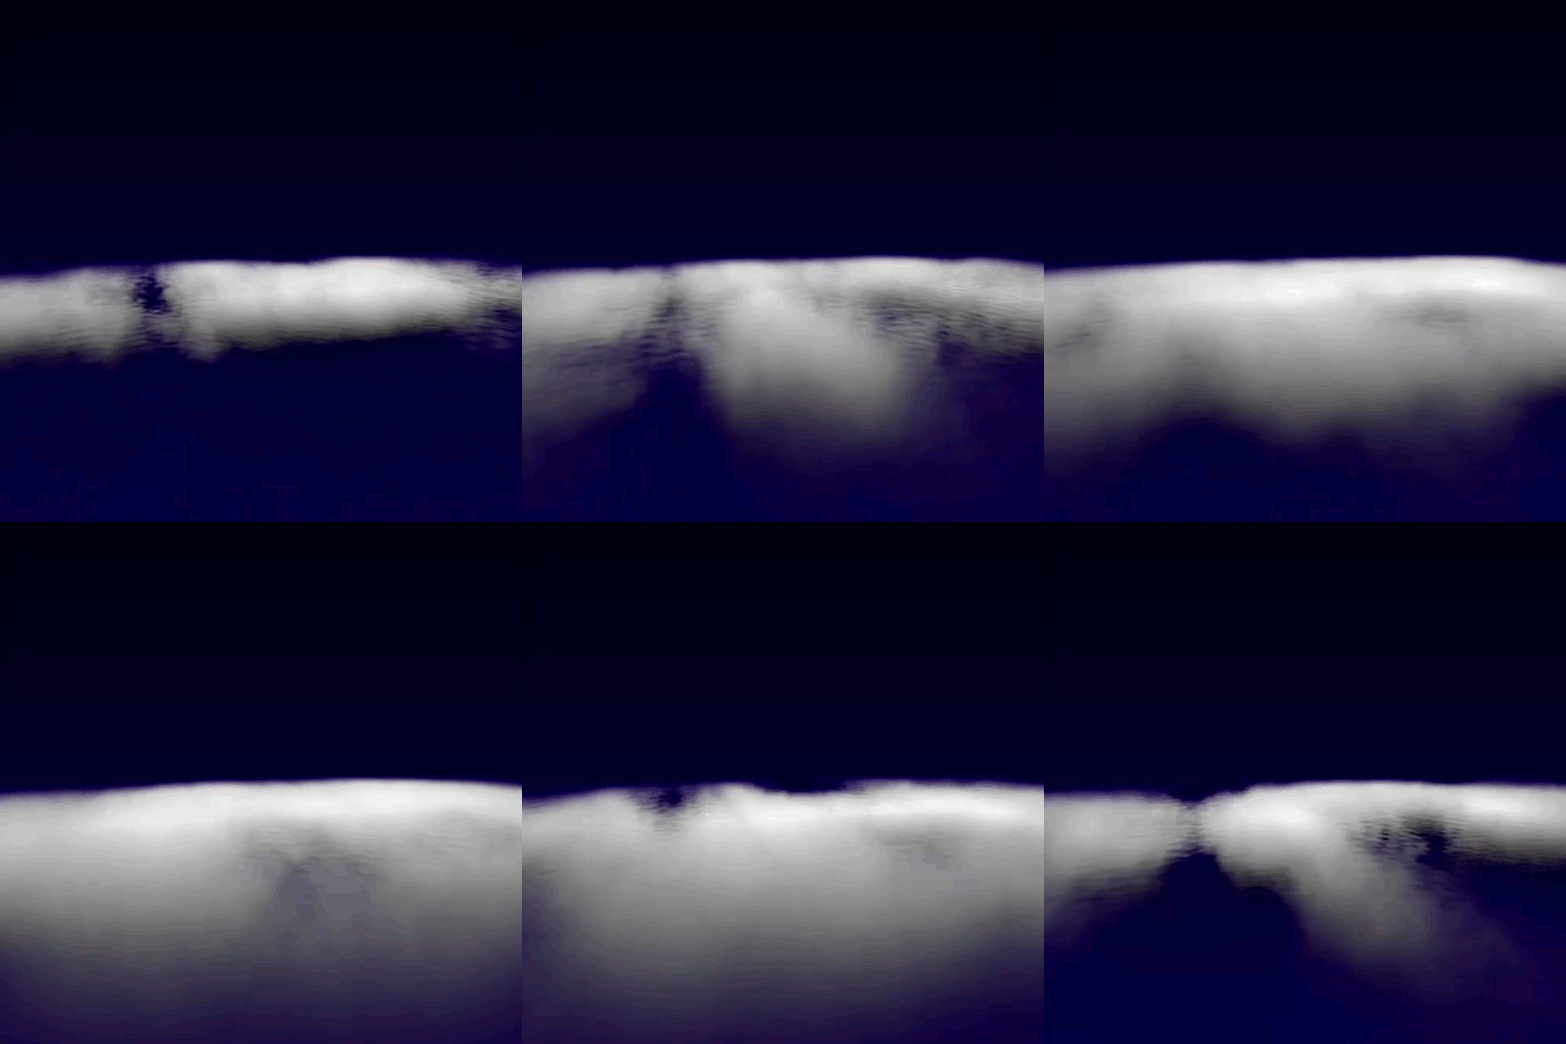
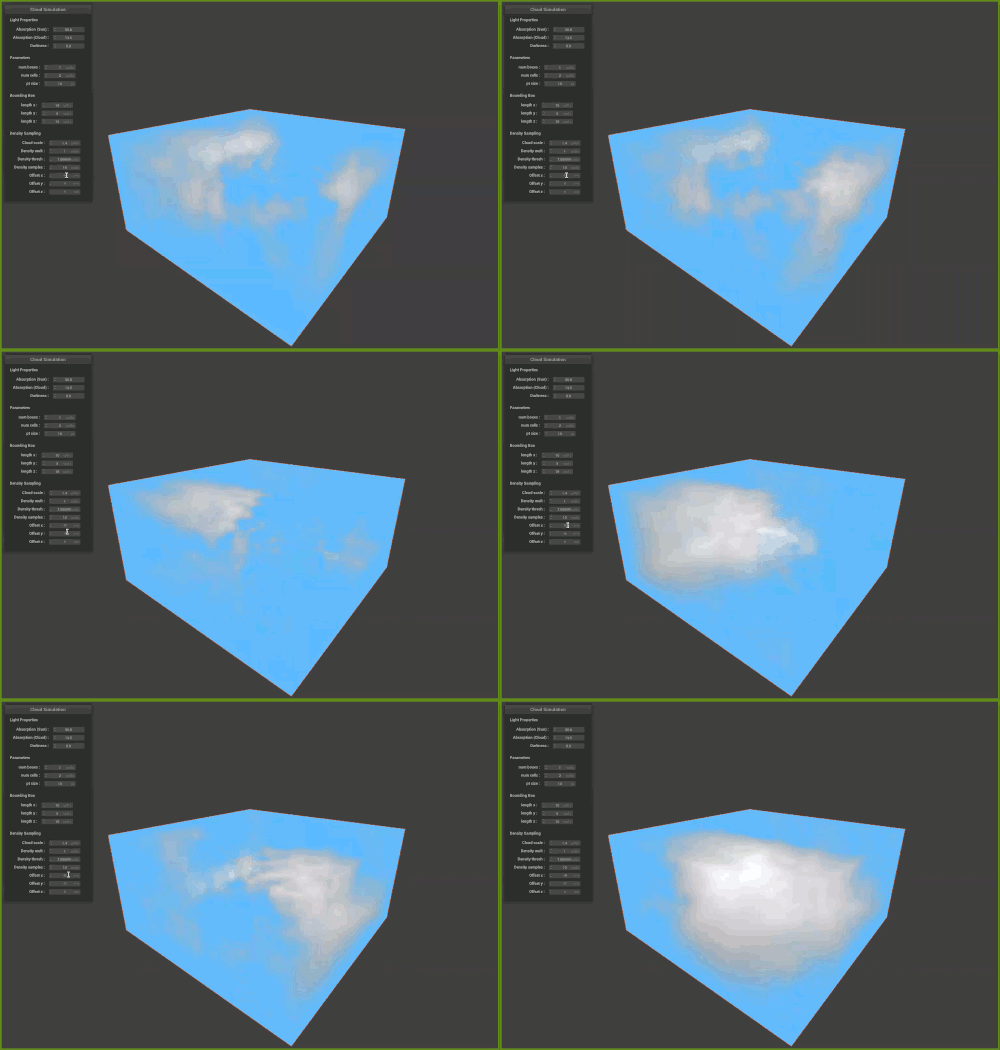
After a lot of tinkering with values and textures, we were finally able to get realistic looking clouds that resemble our goal (left image). Lastly we added a gradient background to the rest of the scene (right image).

Where are the clouds?

Ray and Box intersection

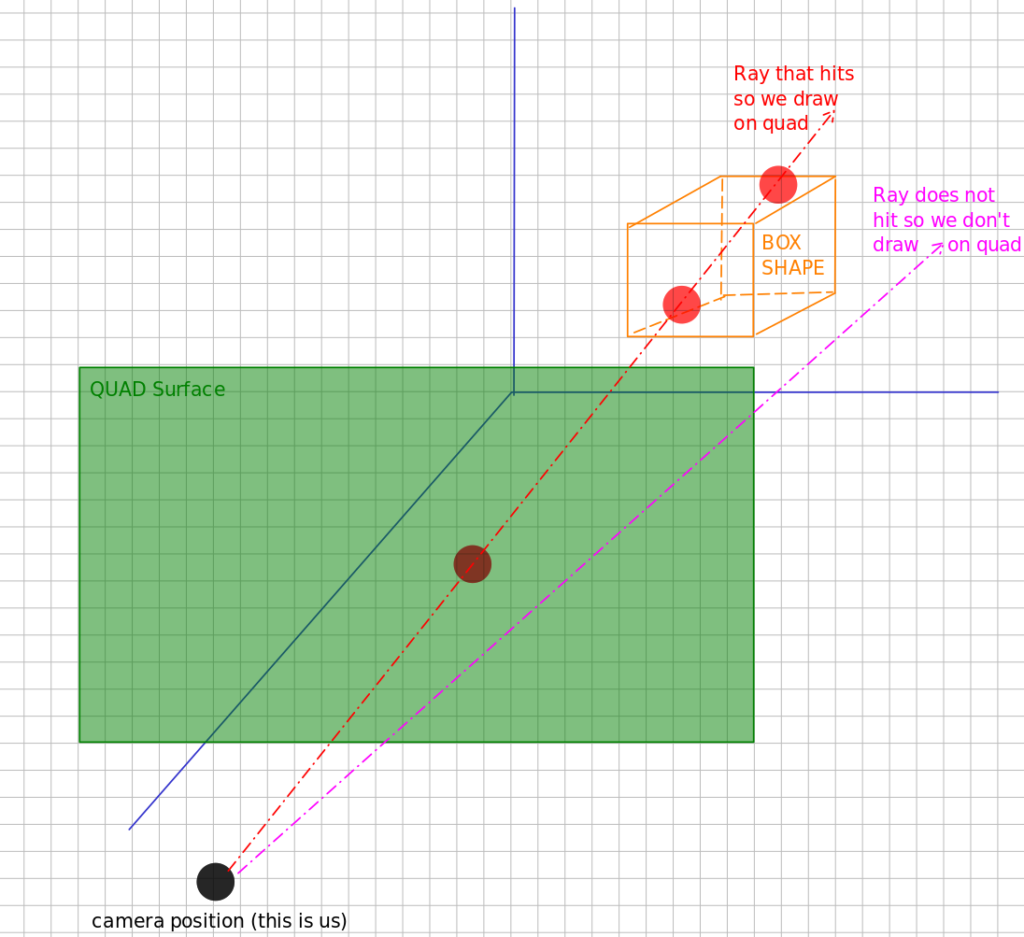
Next step was to “place our texture into the box”. The idea here is to shoot a ray from the camera towards the box. If the ray intersects the box, we will sample our texture at multiple points along the ray inside the box and then draw that point on the quad surface.

If the ray does not intersect the box, we do not draw our texture on the quad.

This enables us to have full control over where to place our clouds in the scene as we reshape and move around the bounding box.

Prior to Ray Tracing

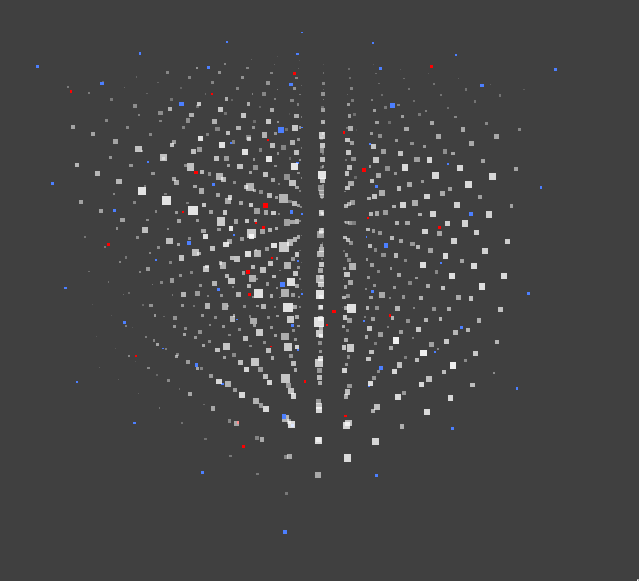
Prior to ray tracing, we generated a bounding box structure using two 3-dimensional points.

Bounding Box Animation

The two points represent rear-leftmost-lower point & front-rightmost-upper corners of the bounding box. These points enabled us to shift x, y, and z coordinates to obtain the remaining 6 corners (total of 8).

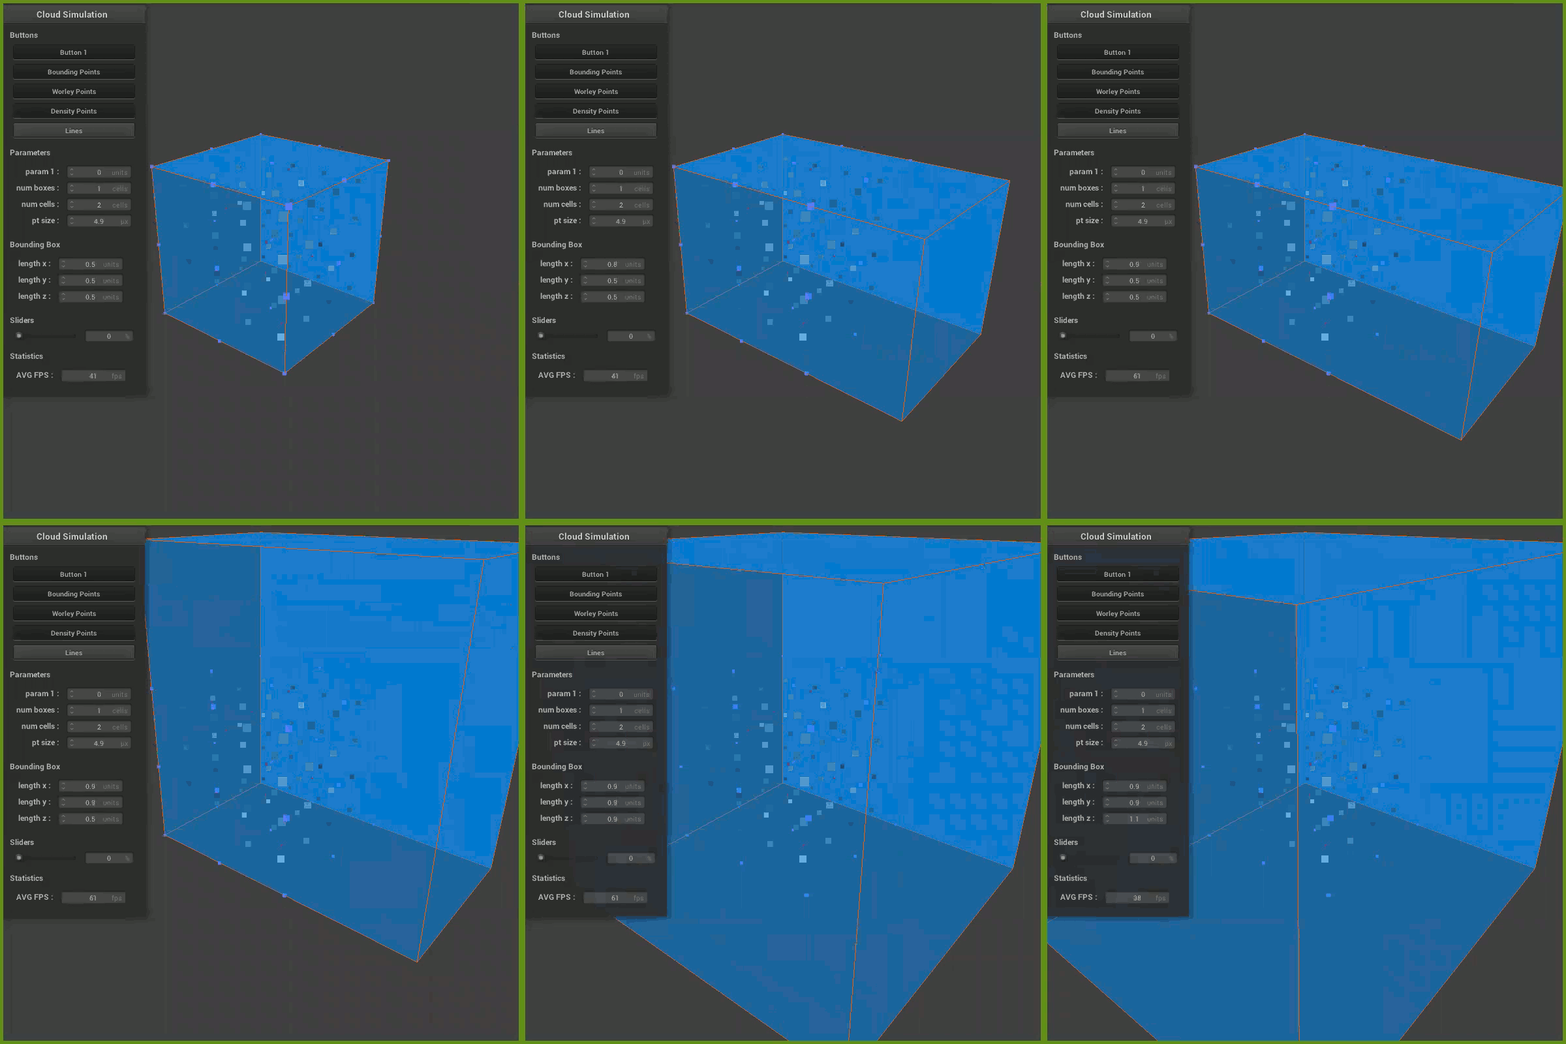
Given the 8 corners, we were able to generate 12 lines outlining our volume using GL_LINES primitive (please see thin orange outline). Then, from the same points, we generated 12 triangles representing our bounding volume planes (please see light blue & 50% transparent walls). These were done using GL_TRIANGLES primitive.

Lastly we have added three sliders to our GUI in order to manipulate the bounding box: length x, length y, and length z. These simple parameters allow us to easily resize the bounding box volume in three dimensions.

3D Worley Noise

After testing our Worley Noise algorithm in 2D, we extended it to work in 3D space. The computational demand of our algorithm was really high because we had to calculate the min_distance(every_pixel, every_random_worley_point).

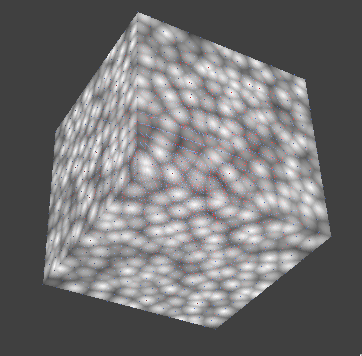
In order to minimize the computations, we split up the cube into sub-sections and placed one random point in each sub-section. Now, every pixel has to check it’s distance against random worley noise points located in 26 adjacent sub-sections in addition it’s own section (total of 27 checks per pixel).

The biggest challenge was in blending cube edges as we replicated the Worley Noise. In short, for the sub-sections touching the outter-planes of the cube, we had to offset our worley noise points to the correct location in order to compute correct distances.

After some debugging, we were able to quickly replicate our Worley Noise texture successfully:

Compute Shader Limitation:

Initially we wanted to speed up the distance calculations by using a compute shader. Unfortunately after implementing a basic compute shader, part of our dev team was unable to run the project due to OpenGL 4.4 (required for compute shaders) incompatibility with Mac OS.

2D Worley Noise

First task in generating realistic clouds was to pick pick an implementation approach. We settled on Worley Noise technique. The idea is to scatter random points all over the screen and find the distance between every pixel and it’s closest point. Then, we would use that distance to shade every pixel with a value between 0 and 255 scaled by the distance.

To test our 2D Worley Noise generation algorithm, we used a simple LodePNG library in order to generate .png files.

First we shaded the background in white color and randomly generated n points. At this stage there is an optimization worth mentioning: evenly subdivide the screen into rectangles and place only one random point per rectangle. This way, every pixel in the scene has to be checked only against a rectangle it belongs to in addition to neighboring rectangles.

Next we found a closest distance between each random point and every pixel in the scene. Normalized by max distance and multiplied by 255 – we now able to shade our scene. The figure displayed on your right is the inverted result [ 255 – normalized_distance ].

Milestone

What has been accomplished:

We have successfully created a three dimensional, repeating Worley noise texture with mixed densities, from which we may sample points to get a cumulative density probability function (more detailed explanation). Passing this function into a shader gives the effect of light diffusing through layers of varying densities, a step towards rendering light effects through clouds.

To accomplish this, we wrote functions to generate the vertices of the bounding boxes, populate each box with one randomly placed Worley point, and represent the distance from a given pixel to its closest Worley point as a density function.

GitHub Repository Link

Our GitHub repository is currently set to private. Please email one of our team members if you’d like to be added to our repository.
Thank you.

Preliminary Results:

The repeating Worley noise 3D structure functions as expected, with no discernible edges when we increase the number of cells. The raytracing effect currently does not fully resemble clouds, but it seems the visual effect is highly dependent on the user-supplied parameters. To alleviate this, we are exploring other ray tracing techniques including ray tracing on a quad in the fragment shader.

Reflection:

We originally anticipated completing the implementation of the Worley noise algorithm in 3D space, testing for object collision, and passing the sampling results into a shader along with environment textures by the end of the second week. We have managed to accomplish the implementation of the 3D Worley noise, pixel shading, and started exploration/evaluation of how to raytrace into the scene. Once we have successfully implemented raytracing in the fragment shader, we will explore mixing multiple levels of noise with weather maps to “draw” our clouds.

Update:

We have slightly stalled on the ray tracing phase – the visual effect presently is highly dependent on the various parameters – density, number of cells, size of bounding box, among others, that the user supplies. A natural next step for us is discovering which set of parameters yields the most consistent cloud-like effects, and how to maintain the rendering effect when changing the camera angle/origin of the ray-tracing rays. Finally, we will be exploring how the system interacts with environment textures like that of the moon or the sun, the most visually memorable reach goal of this project.

Additionally:


Please see our previous posts for more detailed progress steps:

2D Worley Noise
First task in generating realistic clouds was to pick pick an implementation …
3D Worley Noise
After testing our Worley Noise algorithm in 2D, we extended it to …
Prior to Ray Tracing
Prior to ray tracing, we generated a bounding box structure using two …